Effortless, Warm, and Irresistibly Delicious
I first stumbled upon No Knead Bread during a chilly winter afternoon when I craved something warm and homemade. With just a few simple ingredients and no kneading in sight, the process felt almost magical as the dough transformed into a beautifully crusty loaf that filled my kitchen with an aroma reminiscent of cozy bakeries. The texture was delightfully chewy, and each bite burst with flavor—a true revelation for this novice baker!
What makes this No Knead Bread so special is the way it draws people together. As the crust crackles and the steam escapes from the oven, you can feel the excitement building in your home. It’s perfect for those intimate dinners with loved ones or even quiet evenings where you want to treat yourself to something extraordinary without spending hours in the kitchen.
Imagine tearing into a warm slice slathered with creamy butter or dipping it into rich olive oil. Pair it with a hearty soup or a vibrant salad, and you’ve got a meal that feels like a warm hug on a plate. Trust me, as you embark on this baking adventure, you’ll find joy in every rise and every slice—so let’s get started!
What are No Knead Bread?
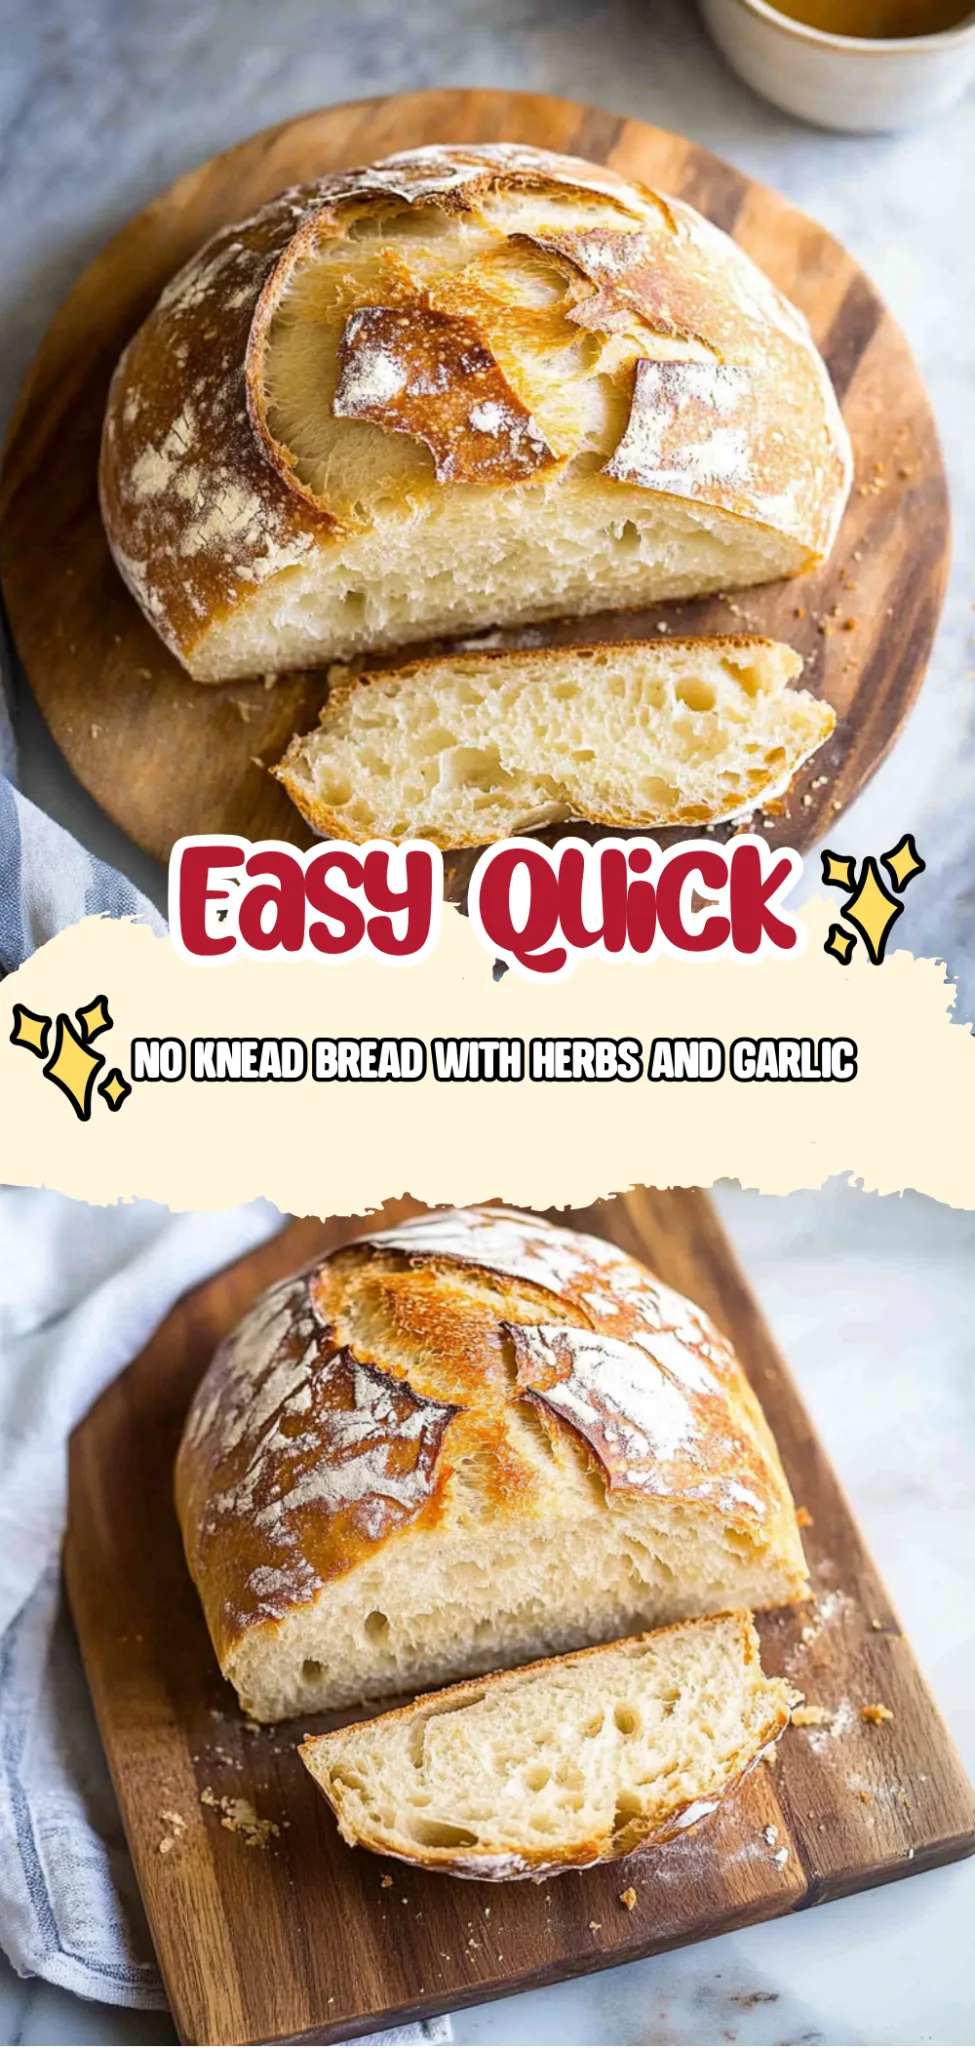
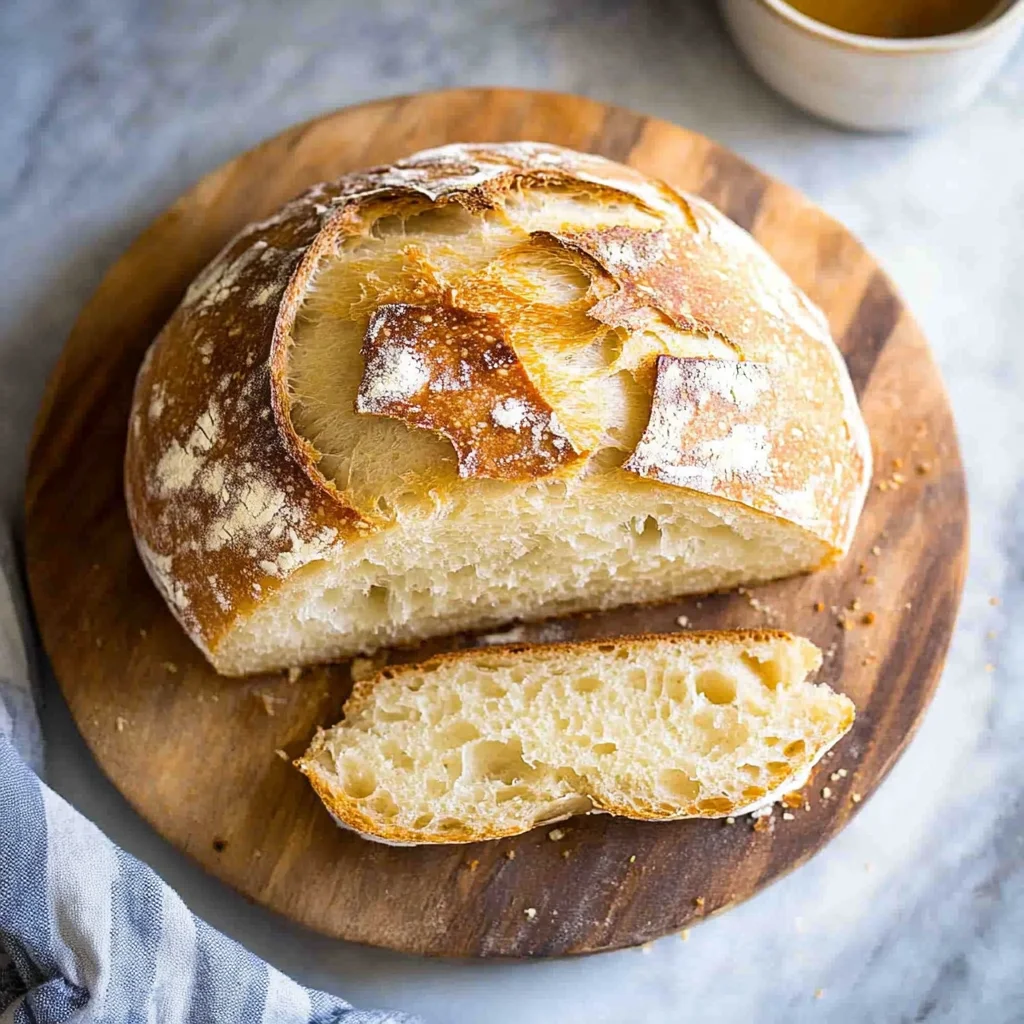
No Knead Bread is a delightful, artisan-style loaf that requires minimal effort and no kneading, making it a fantastic choice for beginners and busy bakers alike. This recipe combines simple dry ingredients such as 3 cups of all-purpose flour, 1 teaspoon of salt, and 1 teaspoon of instant yeast, along with 1.5 cups of room temperature water to create a dough that rises beautifully. The resulting bread boasts a crispy crust on the outside and a tender, airy interior that’s perfect for slathering with butter or enjoying alongside a hearty soup. Baked in the oven, this method ensures even cooking with just one bowl to clean up afterward, allowing you to focus on savoring the delicious results without the fuss.
Perfect For:
Busy Weeknights: With minimal hands-on time and no kneading required, this No Knead Bread is the perfect companion for your quick weeknight dinners, allowing you to enjoy freshly baked bread without the fuss.
Budget-Friendly Baking: Enjoy the satisfaction of homemade bread without breaking the bank. This recipe uses just a few simple ingredients, making it an economical choice for anyone looking to elevate their meals.
Feeding a Crowd: Whether you’re hosting a family gathering or a casual get-together with friends, this No Knead Bread is easy to scale up, ensuring everyone gets a warm slice to enjoy.
Cozy Weekend Mornings: There’s nothing quite like the aroma of fresh bread wafting through your home on a lazy weekend morning. This recipe brings comfort and warmth, making it ideal for those cozy days spent indoors.
No Knead Bread Ingredients
For the Dough
- 3 cups all-purpose flour – This forms the base of your No Knead Bread, providing structure and a lovely texture.
- 1 teaspoon salt – Essential for flavor enhancement and balancing the bread’s overall taste.
- 1 teaspoon instant yeast – This helps the dough rise without needing any kneading, making it perfect for beginners.
For the Liquid
- 1.5 cups water (room temperature) – Room temperature water activates the yeast effectively, ensuring a good rise and airy crumb in your bread.
Kitchen Equipment You’ll Need
- Large mixing bowl
- Plastic wrap
- Floured surface
- Parchment paper
- Clean towel
- Cast iron pot
- Wire rack
How to Make No Knead Bread
Step 1:
In a large mixing bowl, combine 3 cups of all-purpose flour, 1 teaspoon of salt, and 1 teaspoon of instant yeast. Make sure the ingredients are well mixed to ensure even flavor throughout your bread.
Step 2:
Next, add 1.5 cups of room temperature water to the dry ingredients. Stir the mixture until a shaggy dough forms; it will look a bit messy and that’s perfectly okay!
Step 3:
Now it’s time for the first rise! Cover the bowl with plastic wrap and let it sit at room temperature for 12 to 18 hours. This long rise is crucial as it develops flavor and texture, so don’t rush this step.
Step 4:
After the dough has risen, turn it out onto a floured surface. You’ll notice it has expanded and may be a little sticky; that’s normal!
Step 5:
With floured hands, gently shape the dough into a ball. Once formed, place it on a floured piece of parchment paper to prepare for its next rise.
Step 6:
Cover the dough with a towel and let it rise for another 1 to 2 hours. You’ll see it puff up again, which means it’s ready for baking!
Step 7:
Preheat your oven to 450°F (232°C) and place a cast iron pot inside to heat up. This step is crucial as the hot pot will help create that perfect crust when you bake.
Step 8:
Once preheated, carefully remove the pot using oven mitts. Place the dough (with the parchment paper) inside the pot and cover it with the lid.
Step 9:
Bake for 30 minutes covered, then remove the lid and bake for an additional 15 minutes until your bread is golden brown on top. The change in color will indicate that it’s nearly done!
Step 10:
Finally, remove the bread from the pot and let it cool on a wire rack before slicing. This cooling period is essential—slice too soon, and you’ll miss out on that perfect texture!
Tips
- Use room temperature water: Using water that’s too cold can slow down fermentation, while water that’s too hot can kill the yeast. Room temperature water ensures a balanced rise for optimal flavor and texture.
- Let the dough rise covered: Covering the bowl with plastic wrap during the first rise helps retain moisture, preventing the surface of the dough from drying out and forming a crust, which can hinder proper expansion.
- Watch for bubbles: During the first rise, look for bubbles forming on the surface of the dough. This is a sign that fermentation is happening, indicating that your bread will have a good structure and flavor.
- Shape gently: When turning out the dough onto a floured surface, handle it gently to avoid deflating the air bubbles created during fermentation. This ensures your bread remains light and airy after baking.
- Preheat your pot adequately: Properly preheating your cast iron pot is crucial; it creates a steamy environment that mimics professional bread ovens, leading to a crisp crust and chewy interior.
- Cool before slicing: Allowing your bread to cool completely on a wire rack helps set its crumb structure. Cutting too soon can result in a gummy texture as steam escapes.
Optional Ingredients
- Cheddar cheese: Fold in shredded cheddar for a rich, savory flavor that melts beautifully throughout the bread, adding a delightful texture to each bite.
- Crushed red pepper flakes: For those who enjoy a little kick, mix in crushed red pepper flakes to introduce a warm heat that complements the bread’s soft crumb.
- Chopped rosemary: Incorporate fresh or dried rosemary into the dough for an aromatic touch that elevates the overall flavor profile, invoking the essence of rustic Italian bread.
- Zest of lemon: Add a teaspoon of lemon zest for a bright, refreshing note that enhances the bread’s flavor and adds a hint of citrusy brightness.
- Olive oil glaze: Brush the crust with olive oil before baking to achieve a beautifully golden exterior and an extra layer of richness that enhances the overall taste.
What to Pair with No Knead Bread?
A fresh salad is a delightful way to complement the hearty texture of No Knead Bread. Consider a classic Caesar salad or a light arugula salad with a zesty lemon vinaigrette. The crisp greens and tangy dressing provide a refreshing contrast to the bread’s dense crumb, balancing each bite with bright acidity and crunch that invigorates the palate.
For vegetables, steamed asparagus or roasted Brussels sprouts make excellent accompaniments. These vegetables’ earthy flavors and tender textures harmonize beautifully with the warm, crusty bread, creating a satisfying combination. The slight bitterness of roasted Brussels sprouts particularly enhances the savory elements of the bread, making for a more rounded meal experience.
If you’re in the mood for comfort food, try pairing your No Knead Bread with creamy mashed potatoes or buttery corn on the cob. The richness of mashed potatoes provides a decadent mouthfeel that complements the rustic simplicity of the bread, while sweet corn adds a delightful pop of flavor. Together, they create an inviting comfort dish that feels complete and homely.
To wash it all down, consider serving a crisp white wine like Sauvignon Blanc or even a refreshing sparkling water infused with citrus. These drinks not only cleanse the palate but also elevate the overall dining experience by contrasting with the bread’s mild flavor profile. A simple dessert like lemon sorbet can round off your meal beautifully, offering a light and zesty finish that echoes the brightness found in your accompanying salad.
Variations and Substitutions
Whole Wheat Flour: Swap out all-purpose flour for whole wheat flour to create a heartier loaf with a nuttier flavor and more fiber. This variation enhances the bread’s nutritional profile while still maintaining a delightful texture.
Herb-Infused Dough: Add 1 tablespoon of dried herbs such as rosemary, thyme, or oregano to the dry ingredients for an aromatic twist. This infusion will give your bread a fragrant profile that’s perfect for serving alongside soups or salads.
Cheesy Delight: Incorporate 1 cup of grated cheese, like cheddar or mozzarella, into the dough during mixing. This cheesy addition results in a rich, savory flavor that elevates your no knead bread into a decadent treat.
Garlic and Olive Oil: Mix in 2 tablespoons of minced garlic and replace half of the water with olive oil for an Italian-inspired version. The garlic will impart a warm, savory essence while the olive oil adds moisture and richness to the bread.
Gluten-Free Option: Use a gluten-free all-purpose flour blend in place of regular flour to accommodate gluten-sensitive diners. Make sure your yeast is gluten-free as well; this swap yields a light and airy loaf that everyone can enjoy without missing out on flavor.
Spicy Jalapeño Kick: Fold in 1/2 cup of diced pickled jalapeños during the mixing stage for a spicy twist. This variation adds heat and depth, making it an exciting accompaniment to sandwiches or chili.
Cinnamon Raisin Bread: For a sweet variation, add 1 teaspoon of cinnamon and 1 cup of raisins to the dry ingredients. This classic combo transforms your no knead bread into a delightful breakfast treat that pairs beautifully with butter or cream cheese.
How to Store
To store your No Knead Bread, let it cool completely before wrapping it in plastic wrap or placing it in an airtight container. It will keep well in the refrigerator for up to a week. When you’re ready to enjoy it again, simply reheat slices in a toaster or warm them in the oven at 350°F (175°C) for about 10 minutes to restore its crusty texture.
This bread can also be frozen if you want to keep it longer, although the texture may become slightly denser after thawing. Slice the bread before freezing, and place the pieces in a resealable freezer bag or an airtight container to prevent freezer burn. It will last for up to three months in the freezer; when you’re ready to eat, thaw at room temperature or toast directly from frozen for a quick treat.
Frequently Asked Questions
Can I use whole wheat flour instead of all-purpose flour for this recipe?
Yes, you can use whole wheat flour, but it may affect the texture and rise of the bread. Whole wheat flour absorbs more water, so you might need to add a bit more liquid to achieve the right dough consistency.
How long should I let the dough rise?
You should let the dough rise for 12 to 18 hours during the first rise at room temperature. The longer it rests, the more developed the flavor will be, so feel free to experiment within that time frame.
Can I make this bread without instant yeast?
While instant yeast is recommended for this recipe, you can substitute it with active dry yeast. Just keep in mind that you’ll need to activate it in warm water before adding it to your dry ingredients.
How can I store leftover no knead bread?
You can store leftover bread in a paper bag at room temperature for up to three days. For longer storage, wrap it tightly in plastic wrap or aluminum foil and freeze it for up to three months.
Can I bake this bread in a regular baking dish instead of a cast iron pot?
Yes, you can use any oven-safe baking dish, but a cast iron pot helps retain heat and moisture for a better crust. If using a different dish, consider covering it with aluminum foil during baking to trap steam.
Is there a way to make this recipe gluten-free?
You can try using a gluten-free all-purpose flour blend designed for baking. However, results may vary as gluten-free flours behave differently than regular flour, so be prepared for some trial and error.
No Knead Bread
Ingredients
Method
- In a large mixing bowl, combine the flour, salt, and yeast.
- Add the water and stir until a shaggy dough forms.
- Cover the bowl with plastic wrap and let it sit at room temperature for 12 to 18 hours.
- After the dough has risen, turn it out onto a floured surface.
- With floured hands, shape the dough into a ball and place it on a floured piece of parchment paper.
- Cover the dough with a towel and let it rise for another 1 to 2 hours.
- Preheat the oven to 450°F (232°C) and place a cast iron pot inside to heat up.
- Once preheated, carefully remove the pot, place the dough inside (with the parchment paper), and cover with the lid.
- Bake for 30 minutes covered, then remove the lid and bake for an additional 15 minutes until golden brown.
- Remove the bread from the pot and let it cool on a wire rack before slicing.



Leave a Comment