Spookily Delicious and Fun to Make
I remember the first time I baked these Halloween Witch Hat Cookies; it was a chilly October afternoon, and the air was filled with a sense of anticipation for the spooky season. The rich, chocolatey aroma wafted through my kitchen, making it impossible to resist sneaking a bite before they were even fully decorated. With their soft texture and delightful flavor, they quickly became a favorite in our household.
What truly makes these cookies special is how they transform an ordinary treat into something whimsical and festive. As soon as you place that chocolate kiss on top, it instantly conjures images of cauldrons and broomsticks, bringing smiles to everyone around. They’re perfect for Halloween gatherings with friends or cozy nights in, where every bite feels like a sweet little celebration.
To elevate your cookie experience, consider pairing them with a warm glass of milk or a cup of spiced cider for that extra autumnal touch. You might even sprinkle some colorful edible glitter on top for added pizzazz! So grab your apron, gather your loved ones, and let the magic of baking these Halloween Witch Hat Cookies fill your home with joy and laughter.
What are Halloween Witch Hat Cookies?
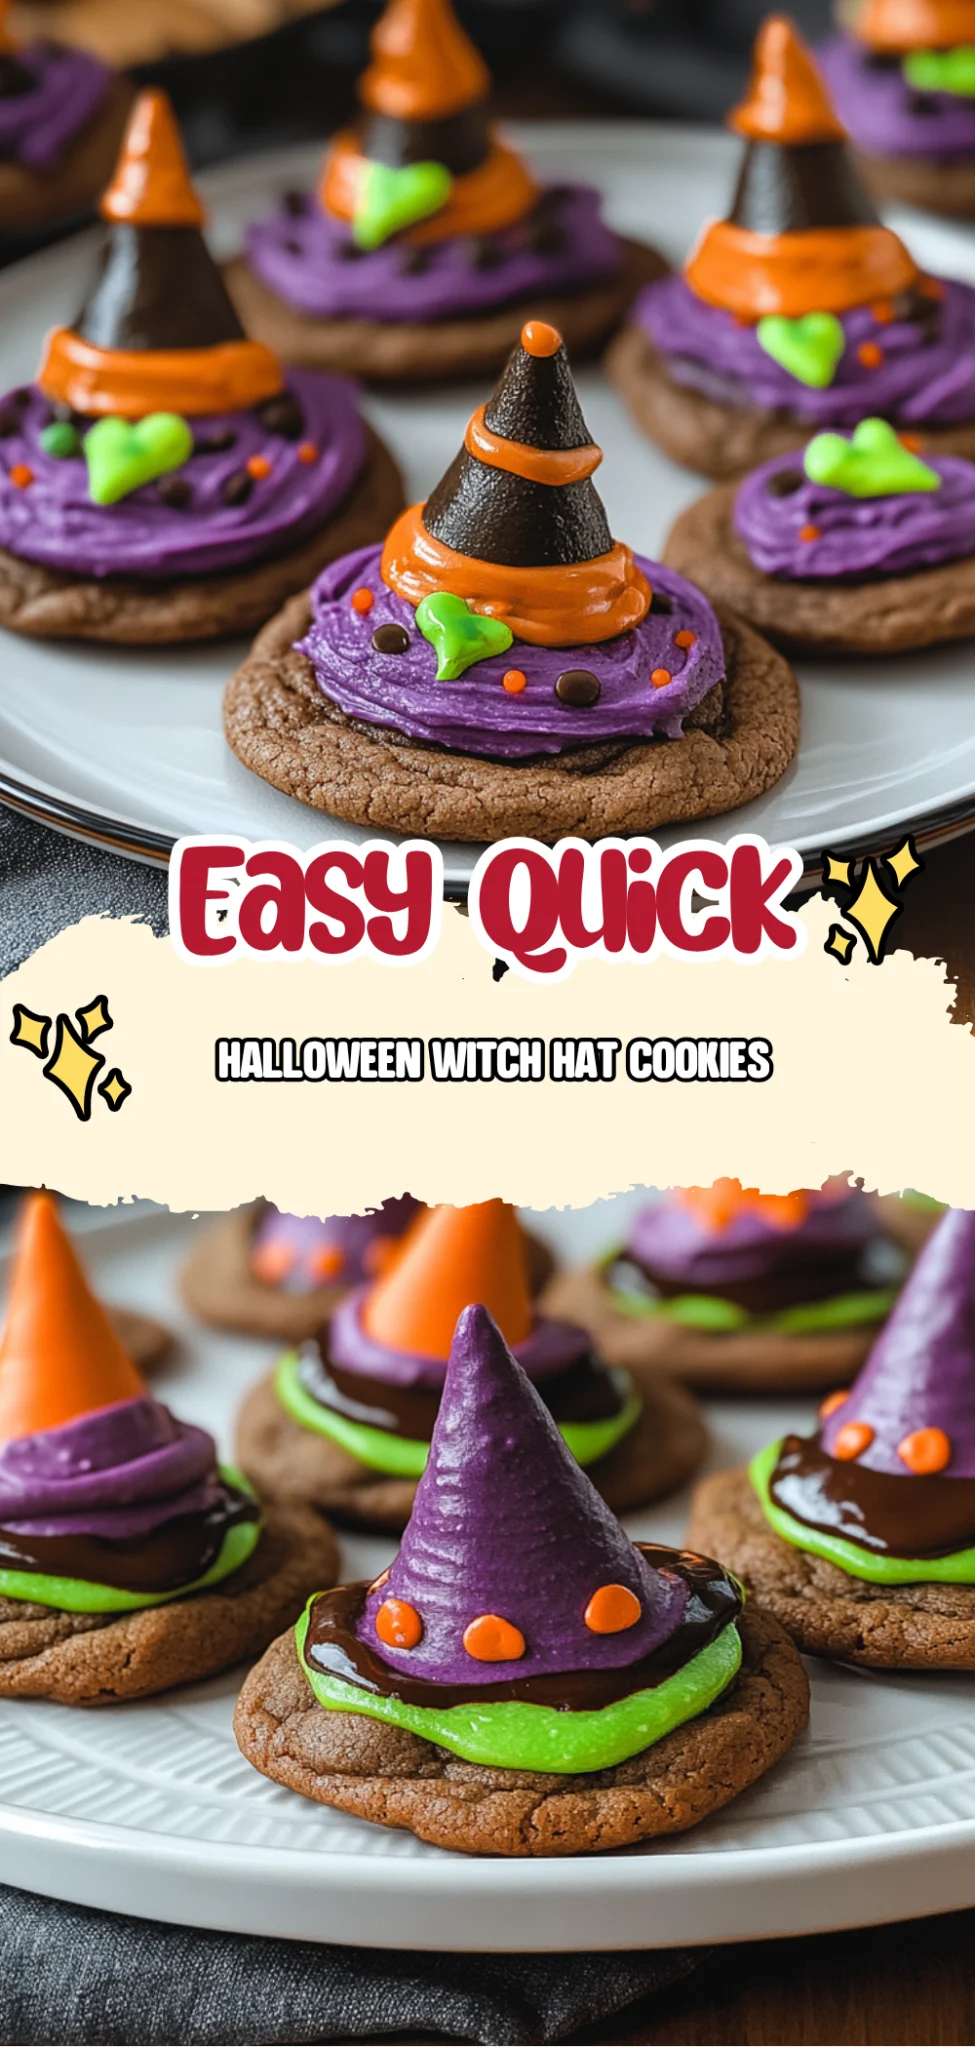
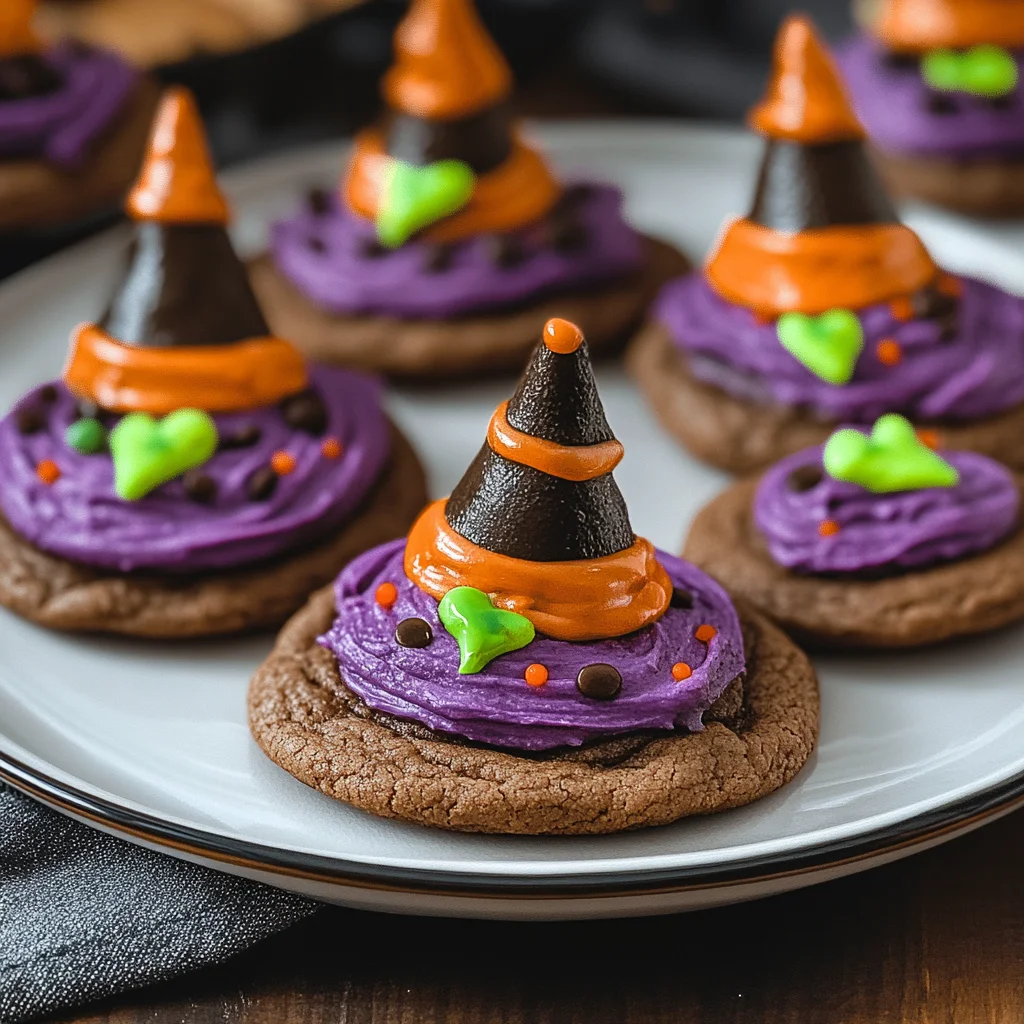
Halloween Witch Hat Cookies are delightful treats that perfectly embody the spirit of the season, combining a rich chocolate cookie base with whimsical decorations. Made with essential ingredients like softened unsalted butter, granulated and brown sugars, eggs, vanilla extract, all-purpose flour, and unsweetened cocoa powder, these cookies offer a soft and chewy texture with a deep chocolate flavor. The addition of chocolate kisses on top creates a fun witch hat appearance that kids and adults alike will adore. Baked in the oven, they require minimal effort for preparation and cleanup, making them an easy yet festive option for your Halloween festivities.
Perfect For:
Halloween Parties: These whimsical witch hat cookies are a delightful addition to any Halloween gathering, enchanting guests both young and old with their festive design and delicious chocolate flavor.
Family Baking Days: Get the whole family involved in making these fun cookies! Decorating each witch hat can be a creative and enjoyable activity that brings everyone together in the spirit of the holiday.
Classroom Treats: Surprise your child’s classmates with these adorable cookies for Halloween celebrations at school. They’re easy to transport, and kids will love the spooky yet tasty treats!
Fall Gatherings: Whether it’s a cozy autumn get-together or a neighborhood potluck, these cookies are sure to impress and spread seasonal cheer, making them the perfect treat for any festive occasion.
Halloween Witch Hat Cookies Ingredients
For the Cookie Base
- 1 cup unsalted butter (softened) – This provides a rich flavor and tender texture to your cookies.
- 1 cup granulated sugar – Balances sweetness and contributes to the cookie’s overall structure.
- 1 cup brown sugar (packed) – Adds moisture and a deeper flavor with its molasses content.
- 2 large eggs – Essential for binding the ingredients together and providing moisture.
- 1 teaspoon vanilla extract – Enhances the chocolate flavor and adds a lovely aroma.
- 2 cups all-purpose flour – The main structure of your cookies, giving them body and chewiness.
- 1 cup cocoa powder (unsweetened) – Delivers that deep, rich chocolate flavor that makes these cookies irresistible.
- 1 teaspoon baking soda – Helps the cookies rise and become fluffy while baking.
- 1/2 teaspoon salt – Balances sweetness and enhances all the flavors in your cookie dough.
For the Toppings
- 12 pieces chocolate kisses (unwrapped) – These will crown your cookies like little witch hats, adding both charm and extra chocolatey goodness.
- 1 cup black decorating sugar (for garnish) – Adds a spooky touch to make your Halloween Witch Hat Cookies festive and fun!
Kitchen Equipment You’ll Need
- Mixing bowls
- Electric mixer or whisk
- Measuring cups
- Measuring spoons
- Baking sheet
- Parchment paper
- Cookie scoop or tablespoon
How to Make Halloween Witch Hat Cookies
Step 1:
Preheat your oven to 350°F (175°C). This is an essential first step to ensure that your cookies bake evenly and turn out perfectly. Get that warm air circulating so you can create delightful treats in no time!
Step 2:
In a mixing bowl, cream together the softened unsalted butter, granulated sugar, and brown sugar until the mixture is smooth and well combined. This should take about 2-3 minutes. You want it to be light and fluffy, which will help give your cookies a wonderful texture.
Step 3:
Next, beat in the two large eggs one at a time, making sure each is fully incorporated before adding the next. Then stir in the teaspoon of vanilla extract for an aromatic touch that enhances the sweetness of your cookies.
Step 4:
In another bowl, combine the two cups of all-purpose flour, one cup of unsweetened cocoa powder, one teaspoon of baking soda, and half a teaspoon of salt. Mixing these dry ingredients separately ensures that your cocoa powder and baking soda are evenly distributed throughout the dough.
Step 5:
Gradually add the dry ingredients to the wet mixture, stirring until just combined. Be careful not to overmix; you want a soft dough that’s ready for shaping into those adorable witch hat cookies.
Step 6:
Drop tablespoon-sized balls of dough onto a baking sheet lined with parchment paper. Make sure to space them out so they have room to spread while baking. This should yield around 20 delicious cookies!
Step 7:
Bake in the preheated oven for about 10 minutes or until they are set but still soft in the center. Keep an eye on them; you want them to be slightly firm but not overbaked so they maintain their chewy texture.
Step 8:
Once baked, remove the cookies from the oven and let them cool for a few minutes on the baking sheet. This will help them firm up slightly while keeping that wonderful softness in every bite.
Step 9:
While the cookies are still warm, gently press a chocolate kiss into the center of each cookie. The warmth will help it adhere nicely, creating that iconic witch hat look we’re aiming for.
Step 10:
Sprinkle black decorating sugar around the base of each chocolate kiss to resemble a witch hat. This adds not only a spooky touch but also a delightful crunch to each cookie!
Step 11:
Allow your cookies to cool completely before serving them up at your Halloween festivities. Once cooled, they’ll be perfectly set and ready for everyone to enjoy!
Tips
- Use room temperature butter: Softened butter blends more easily with the sugars, creating a smoother dough that helps achieve a tender cookie texture. Cold butter can lead to crumbly cookies.
- Don’t overmix the dough: Mixing until just combined ensures the cookies remain soft and chewy. Overmixing can develop gluten, resulting in a tougher texture.
- Chill the dough if necessary: If your dough feels too soft or sticky, refrigerate it for about 30 minutes before baking. This helps the cookies hold their shape during baking.
- Check for doneness carefully: Cookies should look set but slightly soft in the center after 10 minutes of baking. They will continue to firm up as they cool, ensuring you don’t end up with overbaked cookies.
- Press the chocolate kisses in gently: Doing this while the cookies are still warm allows them to melt slightly and adhere better. This creates a more cohesive “witch hat” appearance when decorated.
- Allow cookies to cool completely before serving: This step is crucial for maintaining their shape and texture. Warm cookies can fall apart easily, especially with the added toppings.
- Store cookies properly: To keep your witch hat cookies fresh, store them in an airtight container at room temperature. This prevents them from drying out, ensuring each bite remains deliciously soft!
Optional Ingredients
- Sea salt flakes: A sprinkle on top of the chocolate kiss adds a delightful contrast of salty and sweet, enhancing the rich flavors of the cookies.
- Crushed peppermint candies: These add a festive touch with their bright color and refreshing minty flavor that pairs perfectly with chocolate. Simply sprinkle them over the chocolate kisses before they set.
- Orange zest: A hint of citrus brightness elevates the overall flavor profile, giving a subtle aromatic twist. Use a microplane to finely grate some zest directly into your cookie dough.
- Chili powder: For those who enjoy a bit of heat, adding a pinch of chili powder to the dough can create an intriguing spice that complements the sweetness. Start with 1/4 teaspoon and adjust to your taste.
- Toasted pecans: Chopped and sprinkled over the cookies, these nuts add a lovely crunch and earthy flavor that works beautifully with the chocolate base. Toast them lightly before using for extra depth.
What to Pair with Halloween Witch Hat Cookies?
To complement the rich, chocolaty flavor of Halloween Witch Hat Cookies, consider serving a fresh spinach salad with sliced strawberries and a light balsamic vinaigrette. The sweetness of the strawberries provides a delightful contrast to the deep cocoa notes of the cookies, while the vinaigrette adds a refreshing acidity that cuts through the richness. This balance elevates your dessert experience, making each bite feel both indulgent and light.
Another wonderful pairing is roasted Brussels sprouts with a sprinkle of sea salt and a drizzle of honey. The slight bitterness of the Brussels sprouts contrasts beautifully with the sweetness of the cookies, creating a harmonious interplay of flavors. Additionally, the caramelized edges from roasting add texture that complements the soft chewiness of the witch hats, enhancing your overall meal.
For those looking for a drink to accompany these spooky treats, try serving them with a glass of milk or a sweet red wine like Port. The creamy richness of milk enhances the chocolate flavor without overwhelming it, making each bite more enjoyable. Alternatively, Port’s fruity undertones can mirror the sweetness in the cookies while its boldness provides an elegant finish to this festive feast.
Variations and Substitutions
Coconut oil instead of butter: Swap out the unsalted butter for an equal amount of melted coconut oil to create a dairy-free version of these cookies. This substitution will add a subtle coconut flavor and moisture, resulting in a softer texture that still retains the rich chocolateiness.
Almond flour for all-purpose flour: For a gluten-free alternative, try using almond flour in place of all-purpose flour. This will give the cookies a nutty flavor and a slightly denser texture while still being deliciously chewy.
Maple syrup instead of granulated sugar: Replace the granulated sugar with an equal amount of maple syrup for a natural sweetness and a hint of caramel flavor. Keep in mind that you may need to reduce the overall liquid in the recipe slightly to maintain the right dough consistency.
Dark chocolate kisses for toppings: Instead of standard chocolate kisses, use dark chocolate kisses for a richer taste. This swap enhances the depth of flavor in the cookies, making them even more indulgent and perfect for those who love dark chocolate.
Pumpkin puree addition: Incorporate 1/2 cup of pumpkin puree into the dough along with the wet ingredients for a seasonal twist. The pumpkin will add moisture and a subtle sweetness while also giving your cookies a festive autumnal flavor that pairs perfectly with Halloween.
Peanut butter cookie base: For a fun twist, substitute half of the butter with creamy peanut butter. This variation introduces a delightful nutty flavor that complements the chocolate beautifully, making your witch hats even more enticing.
Refrigerate your Halloween Witch Hat Cookies in an airtight container once they have cooled completely to maintain their freshness. They will keep well in the fridge for up to one week. To enjoy them at their best, simply remove them from the fridge and let them sit at room temperature for about 10 minutes before serving, which helps restore their soft texture.
These cookies can also be frozen, although the chocolate kisses may lose some of their firmness upon thawing. To freeze, place the cookies in a single layer on a baking sheet until solid, then transfer them to a freezer-safe container or zip-top bag, separating layers with parchment paper. They can be stored in the freezer for up to three months; when you’re ready to enjoy them, thaw overnight in the refrigerator and bring them back to room temperature before serving.
FAQ
Can I use a different type of sugar for the cookie base?
Yes, you can experiment with different types of sugar. While granulated and brown sugars provide the best texture and flavor for these cookies, you could use coconut sugar or even a sugar substitute if you’re looking for a healthier option. Just keep in mind that the flavor and texture may slightly vary.
How long should I bake the cookies to achieve the perfect doneness?
Bake the cookies for about 10 minutes at 350°F (175°C). They should be set but still soft in the center when you take them out. Allowing them to cool on the baking sheet will help them firm up without becoming too hard.
Can I make these cookies in advance and store them?
Absolutely! You can prepare the cookie dough a day ahead and refrigerate it until you’re ready to bake. Once baked, store the cookies in an airtight container at room temperature for up to a week, but it’s best to add the chocolate kisses just before serving for optimal presentation.
Are there any substitutions I can make for eggs in this recipe?
Yes, if you need an egg substitute, you can use 1/4 cup of unsweetened applesauce or a flaxseed meal mixture (1 tablespoon ground flaxseed mixed with 2.5 tablespoons water) for each egg. This will help maintain moisture and binding in your cookies.
What if I can’t find black decorating sugar?
If black decorating sugar is unavailable, you can use regular granulated sugar mixed with a bit of black food coloring or even crushed black sprinkles. This will give your witch hats an equally festive look!
Can I freeze these Halloween Witch Hat Cookies?
Yes, these cookies freeze well! After baking and cooling completely, place them in an airtight container separated by parchment paper and freeze. When ready to enjoy, let them thaw at room temperature, then add the chocolate kisses and decorating sugar before serving.
Is it necessary to sift the cocoa powder before adding it to the dough?
Sifting cocoa powder is not strictly necessary, but doing so helps prevent clumps and ensures even distribution throughout the cookie dough. If you’re short on time, just whisk it well with the dry ingredients before mixing.
Halloween Witch Hat Cookies
Ingredients
Method
- Preheat the oven to 350°F (175°C).
- In a mixing bowl, cream together the softened butter, granulated sugar, and brown sugar until smooth.
- Beat in the eggs one at a time, then stir in the vanilla.
- In another bowl, combine the flour, cocoa powder, baking soda, and salt.
- Gradually add the dry ingredients to the wet ingredients, mixing until just combined.
- Drop tablespoon-sized balls of dough onto a baking sheet lined with parchment paper.
- Bake in the preheated oven for 10 minutes, or until set.
- Remove from the oven and let cool for a few minutes.
- While the cookies are still warm, press a chocolate kiss into the center of each cookie.
- Sprinkle black decorating sugar around the base of the chocolate kiss to resemble a witch hat.
- Allow cookies to cool completely before serving.
Leave a Comment