Seared Scallops with Garlic Butter is a dish that captivates the senses with its rich flavors and enticing aroma. Each scallop is perfectly seared to a golden brown, creating a delightful contrast with the buttery garlic sauce.
This recipe is perfect for busy weeknights when you want something quick yet elegant. With just 20 minutes from start to finish, you’ll have a restaurant-quality meal ready to impress your family or guests.
Why You'll Love This Seared Scallops with Garlic Butter
- 1This incredible Seared Scallops with Garlic Butter transforms simple ingredients into restaurant-quality flavors that will blow your mind.
- 2
- 3
Foolproof techniques guarantee perfect results every single time making even novice cooks feel like professional chefs.
- 4
- 5
Stunning visual appeal with gorgeous colors creates the ultimate Instagram-worthy dish for any occasion.
- 6
- 7
Endlessly adaptable for different dietary needs while working beautifully for meal prep or entertaining groups effortlessly.
Ingredients for Seared Scallops with Garlic Butter
Here is what you will need to make this delicious Seared Scallops with Garlic Butter:
1 1/4 pounds sea scallops: Preferably fresh dry packed scallops ensure better searing.
1 tablespoon olive oil: This helps achieve a beautiful crust on the scallops.
Salt and pepper to taste: Essential for enhancing the natural flavor of the scallops.
3 tablespoons butter: Adds richness and depth to the garlic sauce.
1 teaspoon minced garlic: Provides that aromatic punch in the sauce.
2 teaspoons lemon juice: Brightens up the dish with acidity.
2 teaspoons chopped fresh herbs: Use your favorite herbs like parsley or thyme for freshness.
Lemon wedges: For garnish and an extra zing when served.
How to Make Seared Scallops with Garlic Butter
Follow these simple steps to prepare this delicious Seared Scallops with Garlic Butter:
Step 1: Prepare the Scallops
Pat the scallops dry on both sides using a paper towel, which ensures they sear properly without steaming. Season them generously with salt and pepper to enhance their natural flavors.
Step 2: Heat the Skillet
In a heavy skillet, heat the olive oil over high heat until it’s just smoking. This high temperature is crucial for achieving that perfect golden crust on your scallops.
Step 3: Sear the Scallops
Add the seasoned scallops in a single layer in the hot skillet, ensuring not to overcrowd them. Cook for about 2-3 minutes on each side until they are golden brown and caramelized.
Step 4: Make the Garlic Butter Sauce
Once cooked, remove the scallops from the pan and set them aside. In the same skillet, melt the butter over medium heat before adding minced garlic, allowing it to cook for about 30 seconds until fragrant.
Step 5: Combine Ingredients
Stir in fresh lemon juice and chopped herbs into the melted butter, creating a vibrant sauce. Return the seared scallops back into the pan and spoon this delicious sauce over them gently.
Step 6: Serve Immediately
Garnish your seared scallops with additional herbs and lemon wedges before serving. Enjoy this elegant dish hot as it is best served fresh right from the pan!
Perfecting Seared Scallops with Garlic Butter Cooking Process
Cooking seared scallops efficiently requires a keen sense of timing and temperature. Ensuring that your scallops are patted dry and the skillet is hot enough will yield beautifully caramelized results. With just a few simple steps, you can create a restaurant-quality dish in under 20 minutes.
Add Your Touch to Seared Scallops with Garlic Butter
Feel free to personalize your seared scallops with garlic butter by incorporating different herbs or spices. Adding a hint of chili flakes can introduce some heat, while a splash of white wine can elevate the sauce’s flavor profile. Experimenting with different citrus juices, such as lime or orange, can also provide a unique twist.
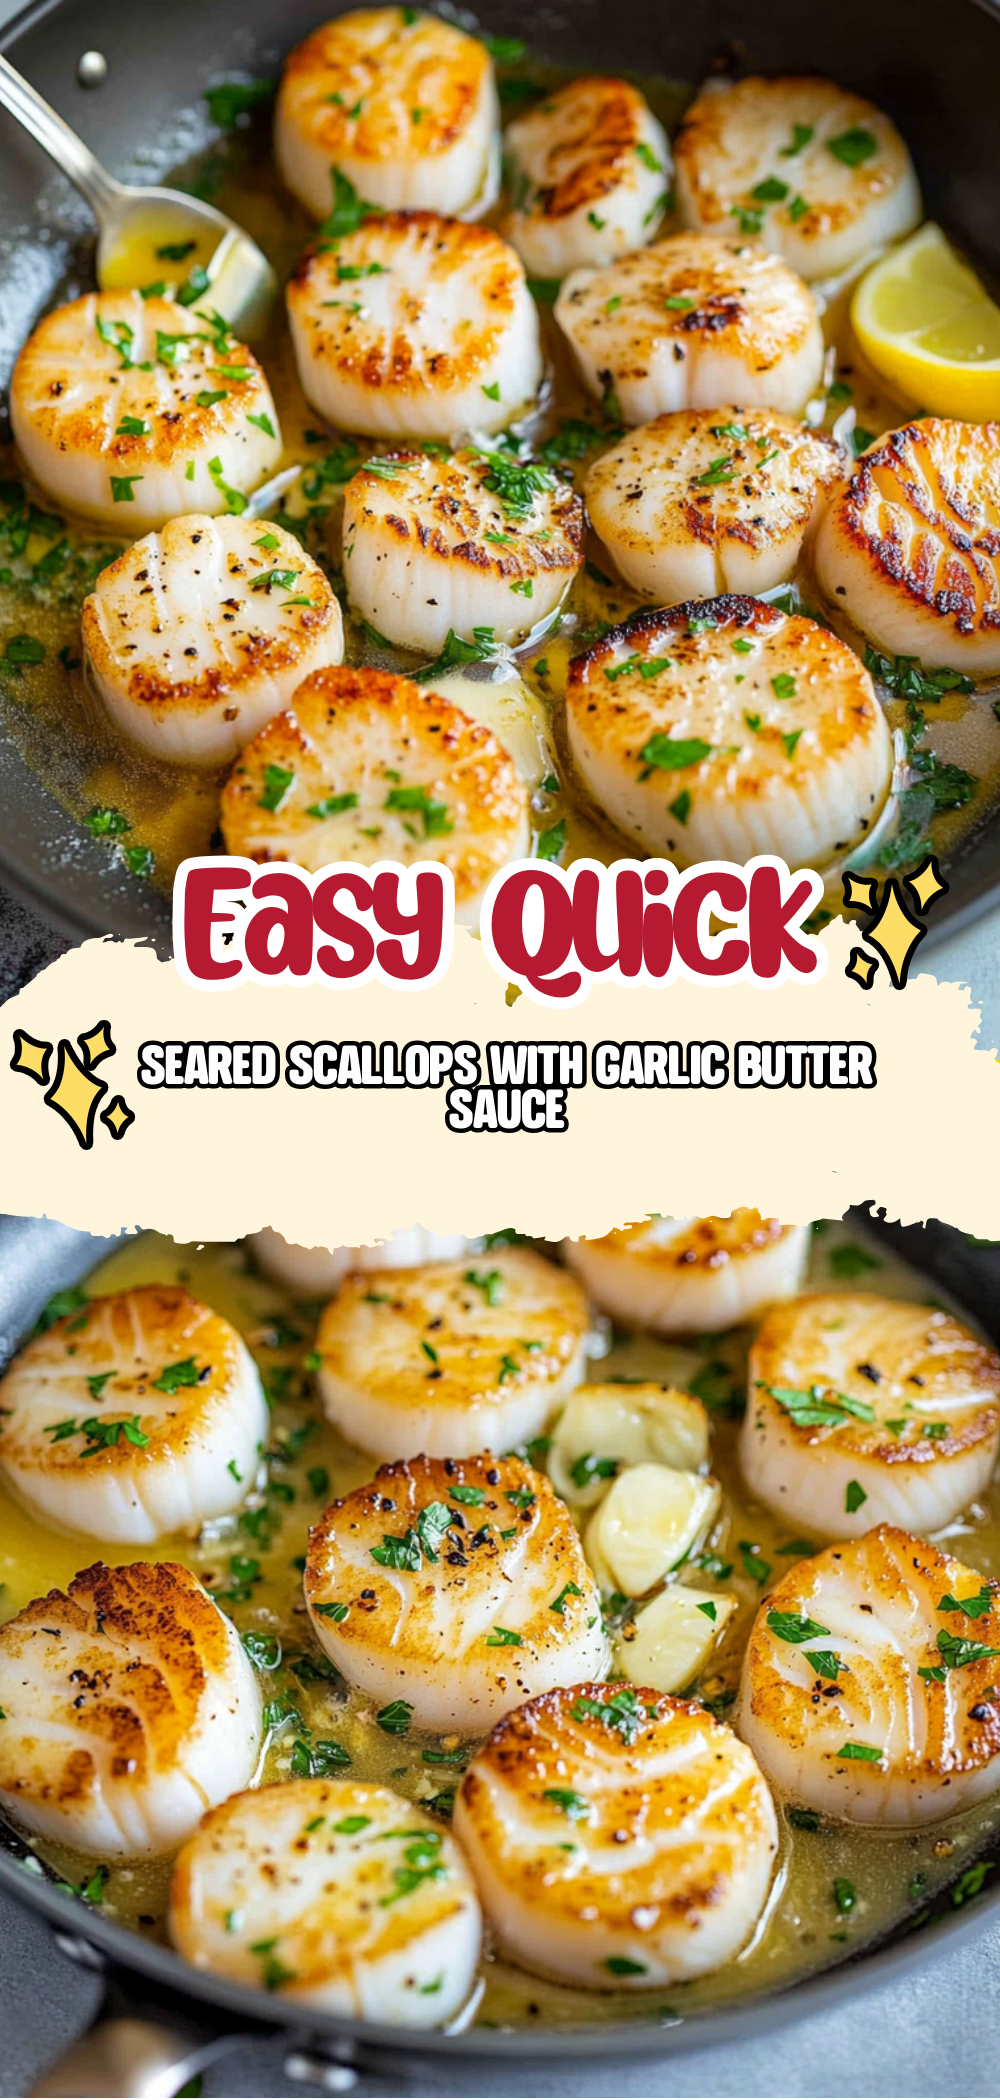
Storing and Reheating Seared Scallops with Garlic Butter
To store leftover seared scallops with garlic butter, place them in an airtight container in the fridge for up to two days. When reheating, do so gently on low heat to prevent overcooking. Alternatively, consider using the microwave in short bursts while checking frequently to preserve their texture and flavor.
Chef's Helpful Tips for Seared Scallops with Garlic Butter
- 1This professional-quality Seared Scallops with Garlic Butter relies on precise timing and temperature control to achieve restaurant-standard results consistently.
- 2
- 3
Master the art of mise en place by prepping all ingredients beforehand to ensure smooth execution.
- 4
- 5
The secret lies in layering flavors throughout the cooking process rather than seasoning only at the end.
- 6
- 7
Pro tip: let the finished dish rest for optimal texture and flavor development before serving to your guests.
Growing up, my family would often celebrate special occasions with a seafood feast, and seared scallops were always the star of the show. The aroma of garlic butter sizzling in the pan brings back warm memories of laughter and joy around the dinner table.
FAQs About Seared Scallops with Garlic Butter
What is Seared Scallops with Garlic Butter?
Seared scallops with garlic butter is a delightful seafood dish where large sea scallops are cooked until golden brown and then bathed in a rich garlic-infused butter sauce. Known for its simplicity and elegance, this recipe highlights the natural sweetness of scallops while complementing them with aromatic flavors from garlic and herbs.
How do I know when scallops are cooked properly?
Properly cooked scallops should have a golden crust on the outside while remaining slightly translucent in the center. They should feel firm yet tender when pressed lightly. Overcooking can lead to rubbery textures, so it’s essential to monitor cooking times closely—typically around 2-3 minutes per side at high heat is perfect.
Can I use frozen scallops for this recipe?
Yes, you can use frozen scallops for searing; however, it’s crucial to thaw them completely before cooking. Pat them dry thoroughly after thawing to remove excess moisture, which will help achieve that desirable sear. Fresh dry-packed scallops are ideal but frozen ones can still yield fantastic results when prepared correctly.
What sides pair well with Seared Scallops with Garlic Butter?
Seared scallops pair wonderfully with light, fresh sides that enhance their rich flavors without overpowering them. Consider serving them alongside a crisp green salad, roasted asparagus, or creamy risotto. A side of lemon-dressed quinoa or sautéed spinach also complements this dish beautifully, creating a balanced meal.
Conclusion for Seared Scallops with Garlic Butter
In conclusion, seared scallops with garlic butter offer not only an exquisite dining experience but also an efficient cooking method perfect for weeknight dinners or special occasions alike. With just a handful of ingredients and minimal preparation time, you can serve up this delectable dish that dazzles both the eyes and palate. Enjoy crafting this culinary delight in your own kitchen!
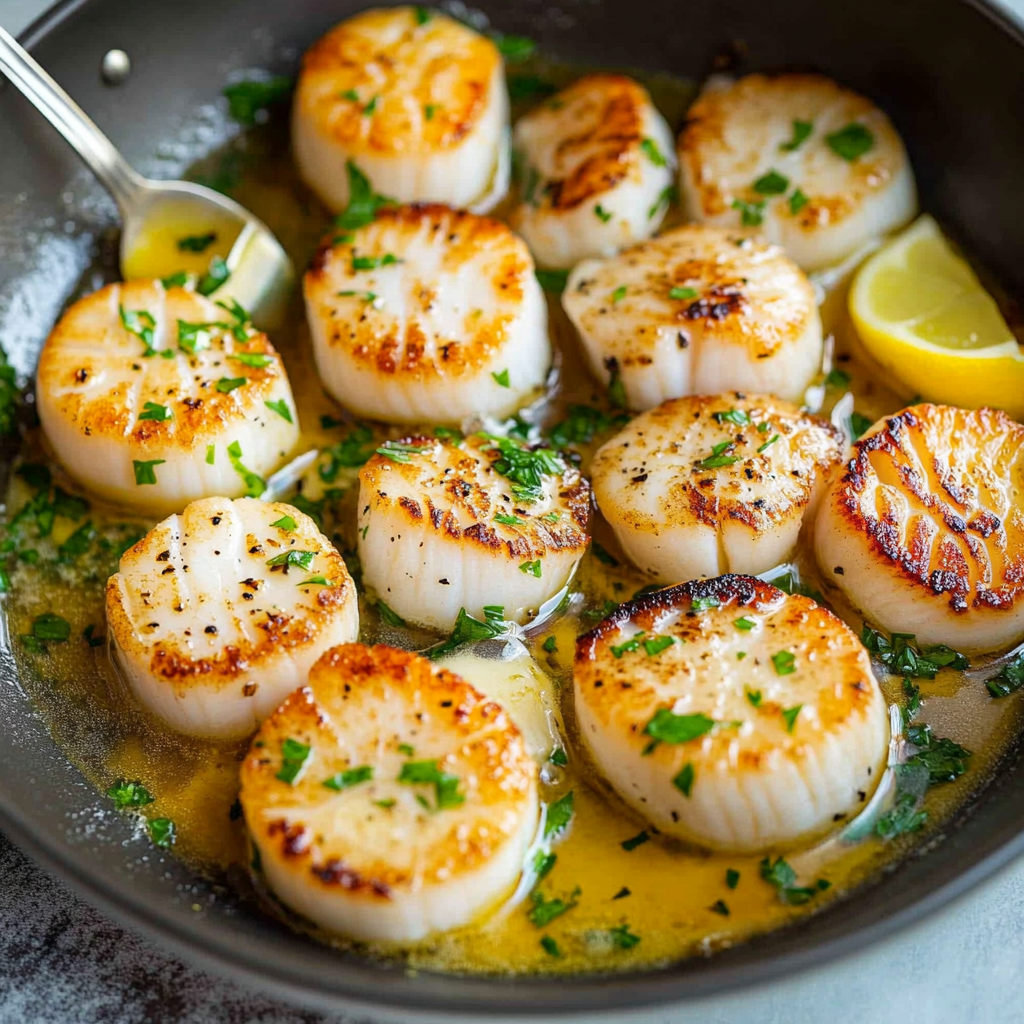
Seared Scallops with Garlic Butter
Ingredients
Method
- Pat the scallops dry on both sides using a paper towel, which ensures they sear properly without steaming. Season them generously with salt and pepper to enhance their natural flavors.
- In a heavy skillet, heat the olive oil over high heat until it's just smoking. This high temperature is crucial for achieving that perfect golden crust on your scallops.
- Add the seasoned scallops in a single layer in the hot skillet, ensuring not to overcrowd them. Cook for about 2-3 minutes on each side until they are golden brown and caramelized.
- Once cooked, remove the scallops from the pan and set them aside. In the same skillet, melt the butter over medium heat before adding minced garlic, allowing it to cook for about 30 seconds until fragrant.
- Stir in fresh lemon juice and chopped herbs into the melted butter, creating a vibrant sauce. Return the seared scallops back into the pan and spoon this delicious sauce over them gently.
- Garnish your seared scallops with additional herbs and lemon wedges before serving. Enjoy this elegant dish hot as it is best served fresh right from the pan!
Leave a Comment